Upcycling
The item stays whole, or stays recognisably itself as material. A jar stays a jar; a shirt stays fabric. The result is usually usable the same day, which is why it tends to stick as a habit rather than a task you mean to get to.
Get in touch
+44 20 7946 0821 [email protected]42 Bramley Road, London, N14 4HR, United Kingdom
Monday to Friday, 9:00 AM – 6:00 PM; Saturday, 10:00 AM – 2:00 PM
Creative upcycling ideas
Upcycling keeps things in use instead of sending them away. The projects here are simple, need few tools, and start from items most homes already have: glass jars, old clothes, cardboard, and furniture that has seen better days. Each one takes an afternoon at most.
Creative upcycling ideas only help if you finish them, so pick a project that matches the materials you already own rather than the ones a shop sells you.
Upcycling vs recycling
The upcycling vs recycling difference is easy to hold in your head once you have it. Recycling breaks material down and remakes it into something new, which uses energy and transport to get there. Upcycling keeps the item whole and gives it a different job.
The item stays whole, or stays recognisably itself as material. A jar stays a jar; a shirt stays fabric. The result is usually usable the same day, which is why it tends to stick as a habit rather than a task you mean to get to.
Material is broken down and made into new stock. It handles things upcycling cannot: mixed packaging, torn paper, glass that has cracked. It is the right second answer, not the first one.
Both have a place, but upcycling comes first when an item still works. That order matters, because it is the difference between a household that thinks about how to reduce household waste and one that mostly recycles and calls it done.
Projects
None of these need a workshop, a kit, or a shopping trip. They sort roughly by effort, so start wherever your materials already are.
Wash jars and remove the label with warm soapy water, then a little oil for stubborn glue. Use them for spices, dried pasta, screws, or paintbrushes. A jar with a lid makes a decent travel container for snacks, though check the seal before it goes in a bag.
How to upcycle glass jars is mostly about matching the size to the job, so keep a few in different shapes rather than one uniform set. Wide mouths take scoops; narrow ones pour.
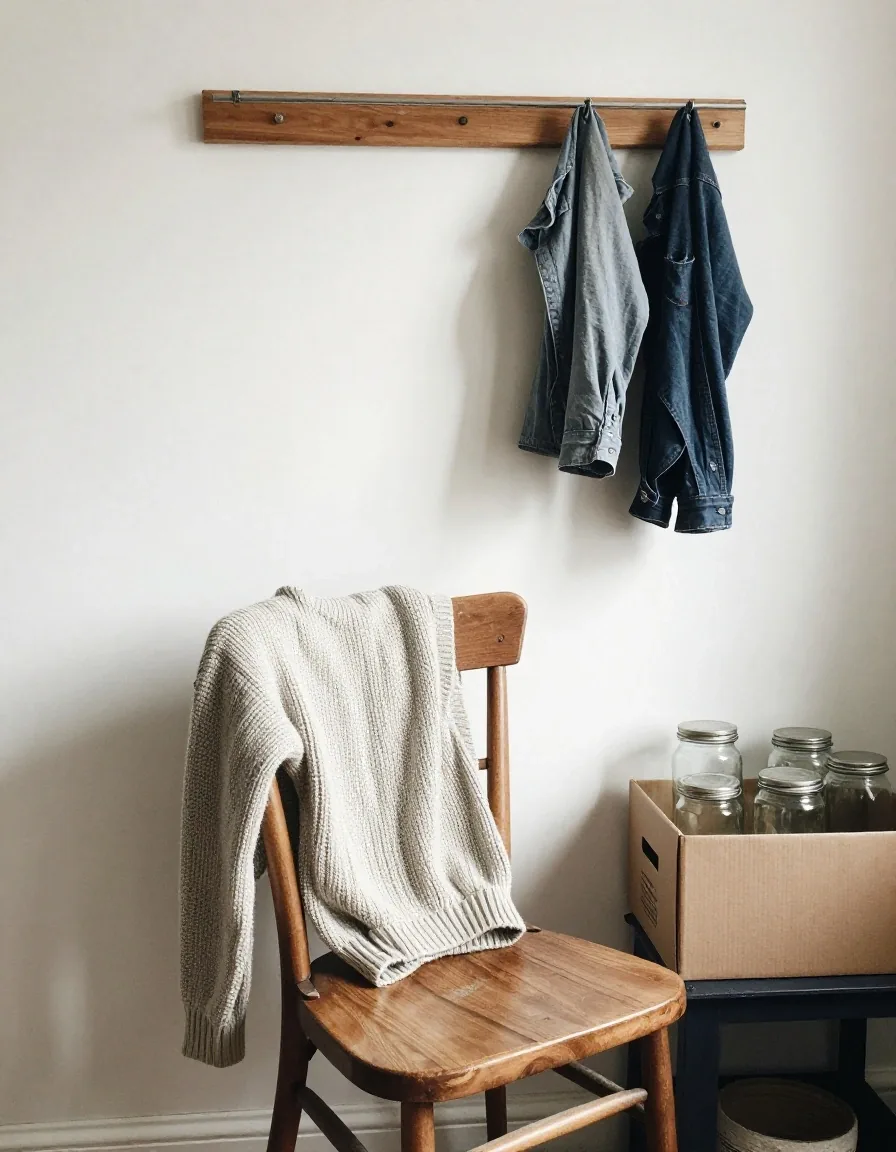
Worn cotton shirts become cleaning cloths, which beats buying packs of new ones. Denim is tough enough for a tote bag or a patch. Knitwear can be cut into strips for a rag rug, though that project takes longer and wants a hook.
Repurposing old clothes starts with the fabric type: cotton and linen absorb, synthetics shed, denim lasts. Sort by material before you cut, because once a shirt is in strips it is only good for one job.
Cardboard boxes flatten into drawer liners, plant-pot saucers, or a base for painting projects with children. Paper can be shredded for packing material or composted if it is not glossy.
This is the lowest-effort category, so it is a good warm-up if you have never finished a project before. It also keeps material at home while it can still be useful, instead of adding weight to the recycling box.
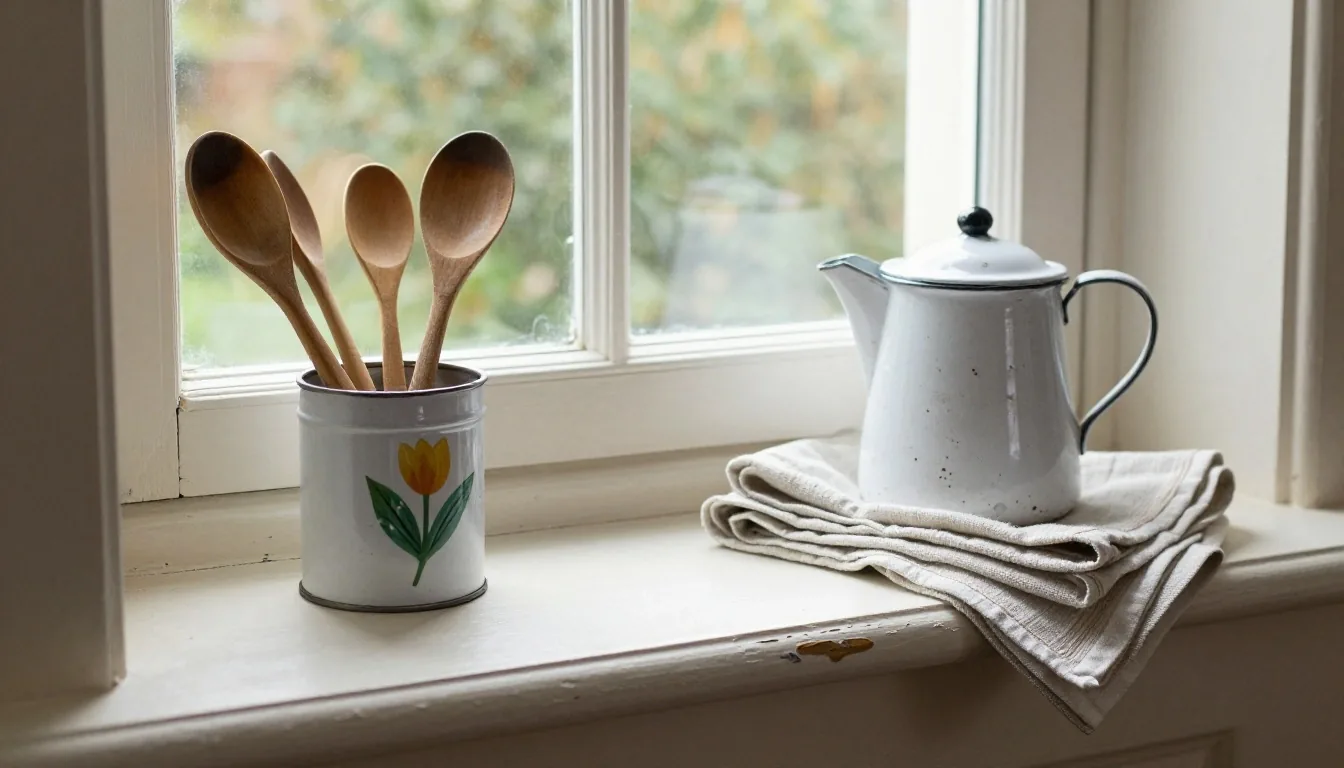
A painted tin becomes a pen pot. A wooden crate becomes a shelf. An old frame with a fresh coat of paint holds a print you already own.
Upcycled home decor DIY works best when the item already fits the space, so measure before you start. One good piece beats a shelf of half-finished experiments, and it is easier to live with.
Some plastic containers are worth a second job: plant pots, drawer dividers, a paint tray, a scoop for compost. Rinse them well and let them dry fully first.
Two limits are worth keeping. Avoid reusing containers that held chemicals, and do not heat food in plastic that was not designed for it. For food, glass and stainless are the safer reuses.
Paint and fabric are easy to change. Size and structure are not, so measure the space before you commit and check that joints and fixings are sound.
Only take on furniture you actually like the shape of. If the proportions fight the room, a repaint will not fix it, and the piece will end up back on the street.
Collect four to six jars of different sizes. Soak the labels off overnight if the glue is stubborn, then scrub with warm soapy water.
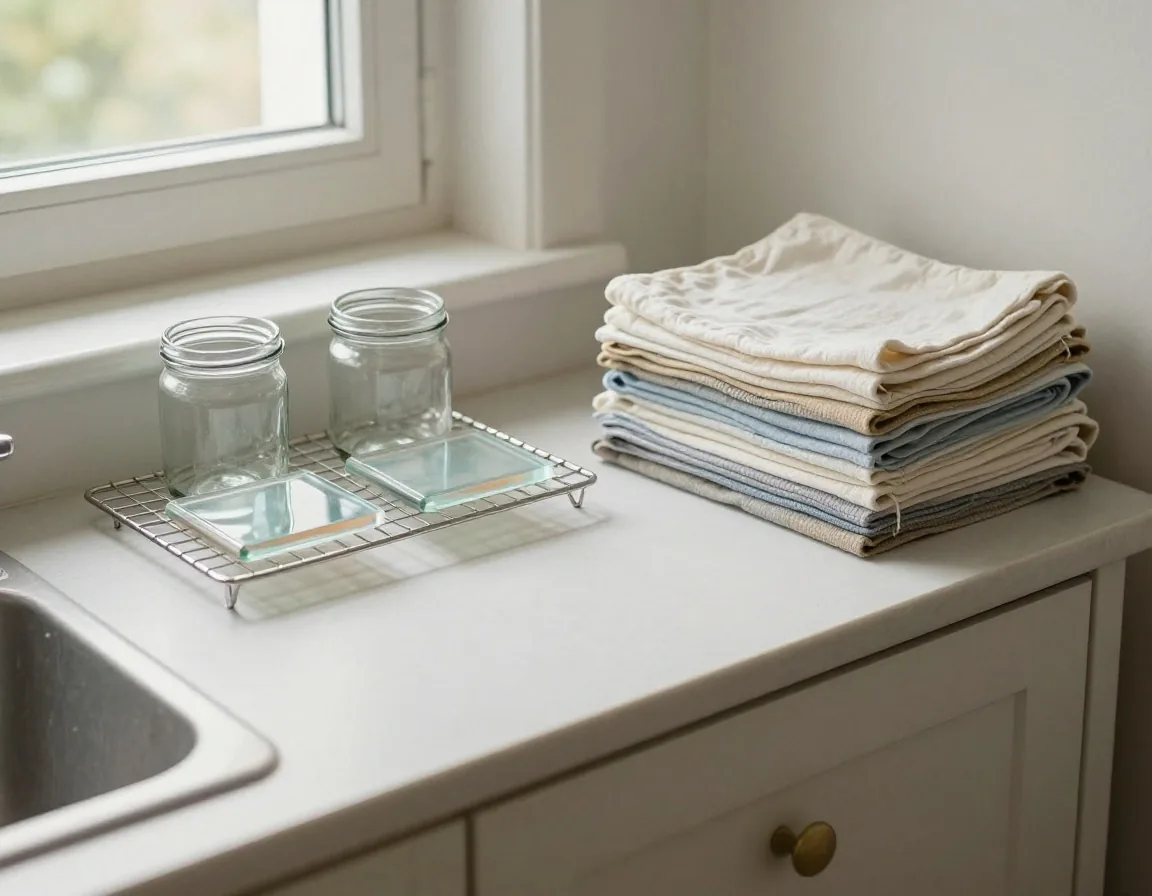
Dry them fully, upside down on a cloth, so no moisture gets trapped under the lid later.
Match each jar to a job. Tall and narrow for dried pasta, short and wide for herbs, small for screws and pins in a workshop drawer.
Write a date on the jar that holds food. It sounds fussy, but it stops you discovering a mystery powder two years from now.
Sort the clothes pile by material before you cut anything: cotton and linen to one side, denim to another, knitwear to a third.
Cut along the seams so you get flat panels rather than awkward shapes. Keep buttons and zips in a small tin; they are the hardest parts to replace.
Hem the cloths with a simple running stitch if you have a needle, or cut them with pinking shears if you do not.
Keep one cloth in the kitchen and the rest in a labelled stack. If a cloth has only been used for dust, wash it and put it back in rotation.
Tools
Scissors, craft knife, sandpaper, screwdriver.
Time
One afternoon per project, drying time aside.
Cost
Nothing, if you already own the jar or the shirt.
Tools and safety
Scissors, a craft knife, sandpaper, and a screwdriver cover most of the simple upcycling projects on this page. Add tools only when a specific job really needs them, and buy second-hand where you can.
Wear gloves when cutting glass or metal, and keep a small brush and dustpan close for shards. Ventilate the room when painting, and let finishes cure away from food surfaces. If a project involves electrical items, gas fittings, or structural furniture, stop and get proper advice, because some jobs are not worth the risk for the sake of saving a piece.
Gloves and a stable surface. Cut away from your body, and keep the jar or tin on a cloth so it cannot roll.
Open a window. Keep paint away from anything that meets food, and let it cure fully before the item goes back into the kitchen.
Anything electrical, anything load-bearing, anything you are not sure about. Pass it to someone qualified or let the item go.
Letting go
Not everything can be saved. Broken ceramics, mixed-material packaging, and mouldy textiles are usually finished, and no amount of enthusiasm changes that. Upcycling should not become a reason to hoard, because a cupboard of good intentions is still a cupboard you cannot use.
If an item has sat untouched for a year, decide honestly whether it will ever be used. If the answer is no, pass it on, recycle it, or dispose of it correctly rather than moving it to another shelf. Simple upcycling projects work because they move things forward, not because they keep everything. That is also the healthier version of zero waste living: a home that stays workable.
This page pairs well with the kitchen swaps guide, since many projects start with food containers. The sustainable shopping page covers what to buy so you bring home less to upcycle later. And if you have food scraps alongside your materials, the composting page handles those.
No. Scissors, a craft knife, sandpaper, and a screwdriver handle most of the projects here. Add tools only when a specific job needs them, and borrow rather than buy if it is a one-off.
Some, yes, for storage or plant pots. Avoid reusing containers that held chemicals, and do not heat food in plastic that was not designed for it. For anything that touches food, glass and stainless steel are the safer reuses.
Start with what you already own, then ask neighbours or check local reuse groups rather than buying craft supplies. Buying new materials to upcycle defeats the purpose, and it usually costs more than the finished item is worth.
Only if the shape works for you. Paint and fabric are easy to change; size and structure are not. Measure the space before committing, and check the joints before you spend an afternoon on a piece that will not take the weight.
Creative upcycling ideas are easy to collect and harder to finish, so choose the jar or the shirt that is already sitting in front of you. When you have one result you actually use, the second project is much easier to start.
Written and maintained by the Rethink & Reuse editorial team, 42 Bramley Road, London, N14 4HR. Office hours Monday to Friday 9:00 AM – 6:00 PM, Saturday 10:00 AM – 2:00 PM. Email [email protected] or call +44 20 7946 0821. Have a project we have not covered? Get in touch.